
 These are the materials I started with. 2 meters of the navy fabric, which was way more than I needed but it was in the bargain bin so better safe with the extra than needing it and not having it. 1 meter of heavyweight iron on interfacing, and one spool of navy thread and one of white top stitching thread for the detail work.

 I then marked the placket cut line and the darts in the back piece. I reinforced the front placket area before cutting it with a wide machine stitch, and sewed in the darts for the back. I ironed the darts flat and facing the back seam once the shorts were mostly assembled. I did not trim the darts, as I was using them for part of the detail top stitch later.

 The plackets are probably the trickiest part. First I cut the line for the plackets on the shorts front. Then I pinned the plackets together, right sides together, and sewed two along the inside curve and over the placket points, and two along the oustide curve and over the placket points. This creates the two shapes for the inside plackets and the outside plackets.
I then trimmed them down very close to the edge and sniped the corners and turned the plackets right side out. I used a pin to pull the corners out to make them nice and pointy looking.

Then was the fun and slightly more confusing part. This took me a few minutes to work out. For the outside plackets which in the end will have the button holes, I had to open one of the placket pieces that had been sewn along the inside curve and match the outside curve's right side to the wrong side of the shorts front. You have to really manipulate the fabric to get the two sides to match without twisting or pulling, because the curves are not the same, but when you flip it over it gives you the right shape. It would have been so much easier if I left the plackets straight and not curved at all. But I love to make things more difficult for myself.
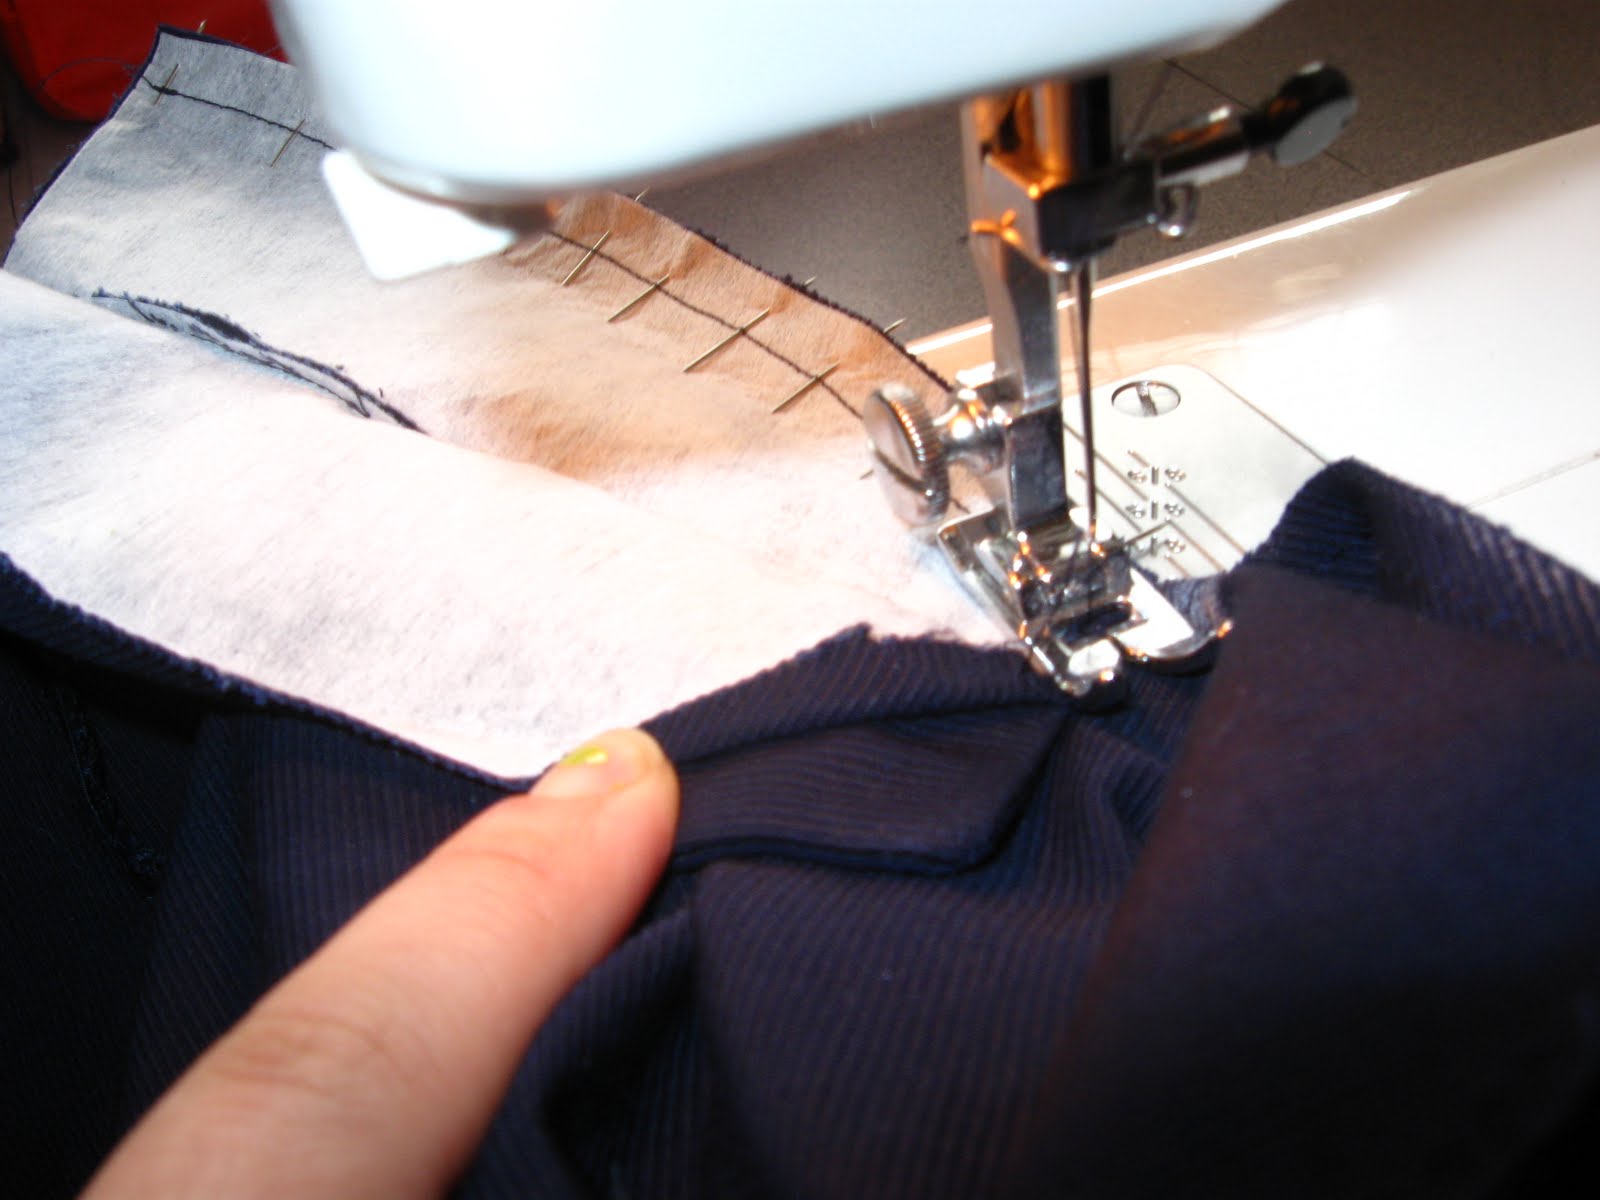
Then I sewed the placket on from the inside, even though I pinned the outside of the fabric. It was easier to manipulate the not interfaced shorts front, which is why I did it this way. Kenny doesn't like sewing over pins, but he didn't get too caught up on them this time. I took the sewing right to the corner of the point, and made sure to really reinforce this by backstitching. Then I trimmed the excess fabric and flipped the placket over and ironed it so it had a nice fold over the outside of the fabric.

I hand stitched this down with a slip stitch to secure it, and I hand stitched down the point of the placket to give me a guide line on the other side to create the inside placket where the buttons go.
The inside plackets got tricksy, and I was so intent on making them line up nicely that I forgot to take pictures. First I realised I had to cut some extra fabric out near the point to make sure they would sit flat and the points would line up. I did this by taking the inside placket and pining the point to where it was directly under the point of the outside placket, and then pinning the tops together. I traced a line on the shorts front matching the inside curve of this placket. I then cut along this new line. I know, writing it out doesn't make a lot of sense if you can't see what I'm talking about, and I appologize. Anyway, I matched them up as described, and then, using the same technique as the outside placket I created the inside one, sewing the open inside curve to the fabric front, matching the right side of the placket to the wrong side of the shorts front. I ironed it, and then hand stitched it down. Then I did it all over again for the other placket on the other side.
At this point I top stitched each placket, starting with the inside placket I stitched very close to the edges using a decorative stitch on my friend's sewing machine that she let me borrow. Then I did the front plackets, then I sewed down the points. I also top stitched down the darts in the back, and the side seams.
The fly of theses shorts then becomes a front flap that if you unbutton both sides just falls down. You only really have to undo one side to slide the shorts on.

 Wow! So close to completion! Lastly, I measured out my button holes and very carefully this time created them. On the first version of the shorts I grew very impatient, and wound up making a lot of mistakes on the button holes. This time I was extra careful to make them evenly spaced and straight on the placket flys. I only had four buttons for each side as apposed to the original shorts which had 5. Once I had the button holes sewn in, I trimmed out the insides and marked where the buttons needed to go, which was very close to the edge of the inside plackets to make sure they didn't pull funny. Then I hand sewed all the buttons into place.
THEY ARE NOW SHORTS! I steamed them with my iron (yaay I got the steamer to work again!) And they were DONE!

It took me 2 days of sewing for about 4 hours to complete the Marianne shorts.
Yesterday I bought some very awesome printed satins to make a skirt with, and a lovely silky-touch lining fabric to line the steam punk jacket I`ve been dreaming of making for awhile now. But I think the skirt is going to be super easy, and I wont need the jacket until the fall, so I`m going to make the skirt first.
BADASS SHORTS OF BADDASSERY
ReplyDelete